


Discover how Italian espresso machine craftsmanship set the global standard for coffee excellence. This guide...
Please, visit the correct shop for your location:
International Site


Espresso Coffee Shop
+Assistance and services
+-
 Italian Espresso Machine Craftsmanship: The Art of Manufacturing ExcellenceRead more04/02/2026
 -
 The Perfect Home Espresso Setup: Creating Your Personal Coffee CornerRead more
Building a home espresso setup is about creating a personalised coffee ritual that delivers café-quality results from...
03/23/2026 -
 The Italian Espresso Experience: What Makes It Authentic?Read more
Italian espresso is far more than a beverage; it is a daily ritual shaped by decades of craft, regional tradition,...
03/23/2026 -
 Top 10 Italian Espresso Machine Brands: Heritage, Quality, and InnovationRead more
Italy has long set the gold standard for espresso machine craftsmanship, and this guide highlights 10 of the finest...
03/23/2026 -
 Italian Espresso Blends: Understanding Traditional Flavour ProfilesRead more
Discover the rich tradition behind Italian espresso blends. Learn how Arabica and Robusta beans shape authentic...
02/14/2026 -
 Italian Coffee Culture vs American Coffee Habits: A Cultural ComparisonRead more
A cultural deep dive into how Italy and the United States experience coffee differently. From quick espresso rituals...
02/06/2026 -
 The Ultimate Guide to Commercial Espresso Machines for Small CafésRead more
A practical guide to choosing the right commercial espresso machine for small cafés, covering features, machine...
01/31/2026 -
 The History of Italian Espresso: From Turin to Your KitchenRead more
The history of Italian espresso, from early steam machines to modern home brewing, and why this iconic coffee culture...
01/26/2026 -
 Espresso vs Coffee: Understanding the Fundamental DifferencesRead more
A clear explanation of espresso vs coffee, covering brewing methods, taste, caffeine, and lifestyle differences to...
01/16/2026 -
 Dual Boiler vs Single Boiler Espresso Machines: Performance ComparisonRead more
A practical comparison of dual boiler vs single boiler espresso machines, focusing on real-world performance,...
01/16/2026
Blog categories
Search in blog

Milk Steaming Mastery: Creating Café-Quality Microfoam at Home
Ask any barista what separates a good cappuccino from a great one, and they’ll tell you—it’s all in the milk texture. Perfectly steamed milk transforms your espresso into a creamy, velvety delight with a glossy microfoam that sits beautifully on top.
The best part? You don’t need a commercial setup to achieve it. With the right espresso machine for home and a little practice, you can create café-quality microfoam right in your kitchen. Let’s dive into how you can master the art of milk steaming.
What Is Microfoam?
Microfoam is the silky layer of fine, velvety bubbles created when milk is steamed with the espresso machine’s frother or steam wand. Unlike large, airy bubbles used for traditional frothy drinks, microfoam has a smooth texture that blends perfectly with espresso, ideal for latte art and flat whites.
When done correctly, microfoam should have a shiny, paint-like surface that glides over the espresso rather than floating on top.
The Science Behind Milk Frothing
Steaming milk isn’t just about heating it—it’s a careful balance between temperature, texture, and aeration.
When the steam wand introduces hot air into the milk:
- The proteins in the milk stabilize the tiny bubbles.
- The fat adds richness and creaminess.
- The temperature (ideally between 55°C–65°C / 130°F–150°F) enhances sweetness while preventing scalding.
If the milk overheats above 70°C, it loses its sweetness and becomes flat or burnt-tasting—so control is key.
Tools You’ll Need
To create consistent microfoam, make sure you have:
- A semi-automatic espresso machine or dual boiler espresso machine with a steam wand (e.g., Rocket Appartamento, Lelit Bianca, Rocket R58).
- A stainless-steel milk pitcher (350–600 ml).
- A milk thermometer (optional but helpful).
- Fresh cold milk (whole milk works best for beginners).
Step-by-Step: How to Steam Milk Like a Barista
- Start with Cold Milk: Pour fresh, cold milk into your pitcher—about one-third full. Cold milk gives you more time to control texture before it heats up.
- Purge the Steam Wand: Always purge any condensation from the wand before steaming to prevent watering down your milk.
- Position the Wand Correctly: Insert the steam wand just below the surface of the milk, near the side of the pitcher at a slight angle. This helps create a whirlpool motion—essential for even aeration.
- Aerate the Milk (Stretching Phase): Turn on the steam and listen for a gentle “hiss” or “tss tss” sound. This means air is being incorporated into the milk. Continue this for 3–5 seconds, depending on how much foam you need.
- Submerge and Spin (Texturing Phase): Once enough air is introduced, lower the wand deeper into the milk to heat it and create a smooth, spinning motion. This blends the air evenly, creating that fine microfoam texture.
- Stop at the Right Temperature: Turn off the steam when the pitcher feels too hot to hold for more than 2 seconds (around 60°C).
Pro tip: If you hear screeching, your wand is too deep; if it’s splattering, it’s too high. - Polish the Milk: Tap the pitcher gently on the counter and swirl it to eliminate any visible bubbles. The milk should now look glossy and thick, like wet paint.
Common Mistakes to Avoid
- Over-aerating the milk – Too much air gives you big bubbles instead of microfoam.
- Overheating – Burns the milk and kills sweetness.
- Not swirling enough – Causes uneven texture.
- Using the wrong milk – Non-dairy milks froth differently; start with whole milk for consistency.
Choosing the Right Espresso Machine for Perfect Foam
If your goal is to make professional-quality drinks at home, your choice of espresso machine matters.
Here are some great options for milk steaming mastery:
- Rocket Appartamento TCA Espresso Machine: Compact, powerful, and ideal for consistent frothing.
- Lelit Bianca Dual Boiler Espresso Machine: Advanced control for both espresso and steam pressure.
- Rocket R58: Stable steam power with a commercial-grade wand.
- Best affordable pick: Lelit Anna Espresso Machine – great for beginners learning microfoam technique.
Machines with dual boilers let you brew espresso and steam milk simultaneously, maintaining optimal pressure and temperature for both.
Milk Types and Foam Quality
Different milks produce different textures:
- Whole milk: Best balance of fat and protein for silky microfoam.
- Low-fat milk: Creates lighter foam but less creaminess.
- Oat milk: Great dairy-free alternative with decent stretch.
- Soy or almond milk: Froth quickly but can separate if overheated.
Experiment to find what suits your taste and texture preference.
Taking It to the Next Level: Latte Art
Once you’ve mastered microfoam, you can start experimenting with latte art — hearts, rosettas, or tulips. Perfect microfoam allows smooth pouring and clear contrast with espresso crema.
Tip: Use a wide latte cup and pour from a consistent height and flow for best results.
Final Thoughts
Mastering microfoam is one of the most satisfying skills for any home barista. With practice, a quality espresso machine with frother, and a steady hand, you can enjoy café-quality cappuccinos, lattes, and flat whites anytime you want.
Remember:
- Cold milk, proper wand angle, and correct temperature are your foundation.
- Smooth, shiny, paint-like texture means you nailed it.
Start crafting your own coffeehouse experience at home with our selection of espresso machines, tampers, and milk jugs.
Frequently Asked Questions (FAQs)
Q1. What is microfoam and why is it important for coffee drinks?
Microfoam is finely textured, glossy milk foam that gives lattes and cappuccinos their creamy mouthfeel and enables latte art.
Q2. What temperature should milk be steamed to?
Ideal milk steaming temperature is 55°C–65°C (130°F–150°F). Beyond this, milk loses sweetness and may taste burnt.
Q3. Which milk type is best for frothing?
Whole milk produces the best microfoam due to its balanced fat and protein content. Oat milk is a great plant-based alternative.
Q4. Why does my milk have big bubbles instead of smooth foam?
You’re introducing too much air or holding the steam wand too high. Keep the tip just below the surface and create a steady whirlpool motion.
Q5. Can I make microfoam without an espresso machine?
Yes, but results vary. You can use a handheld milk frother or a stovetop steamer, though they may not produce true café-style microfoam.
Related posts
-
 Understanding Espresso Machines: Single Boiler, Dual Boiler, and Heat Exchanger Models
Choosing the right espresso machine can elevate your coffee experience to new heights. At Espresso Coffee Shop we...Read more
Understanding Espresso Machines: Single Boiler, Dual Boiler, and Heat Exchanger Models
Choosing the right espresso machine can elevate your coffee experience to new heights. At Espresso Coffee Shop we...Read more -
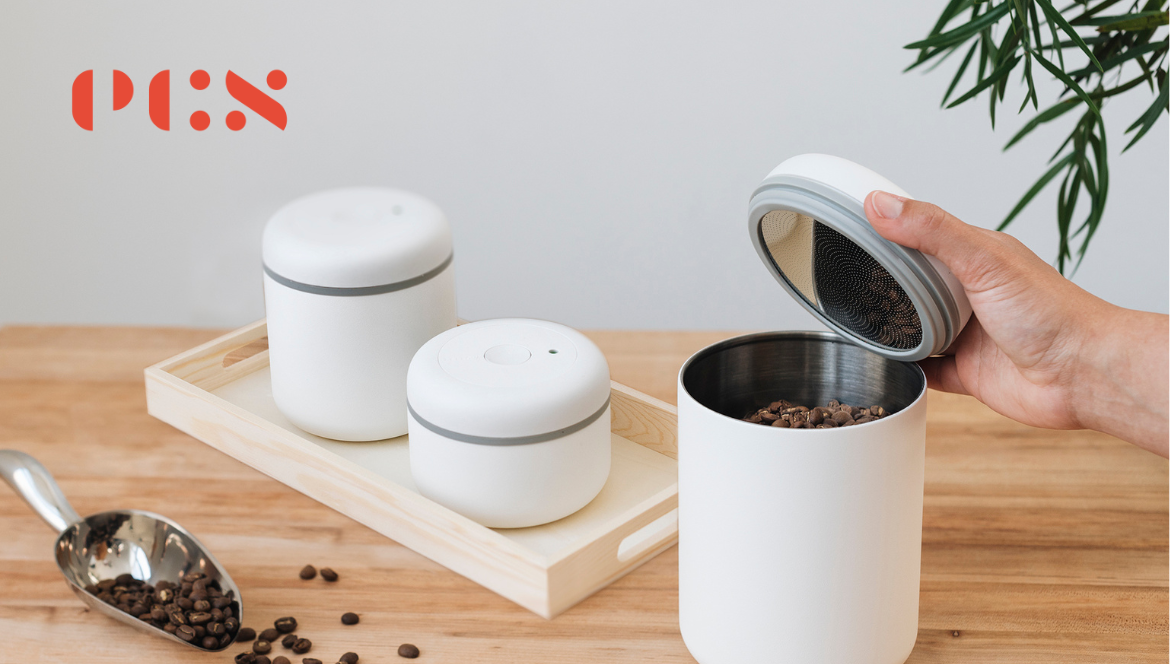 How to properly store coffee
If you, too, are a true coffee enthusiast, meticulously selecting the varieties you like best and eagerly...Read more
How to properly store coffee
If you, too, are a true coffee enthusiast, meticulously selecting the varieties you like best and eagerly...Read more -
 Bottomless portafilter? Here are the aspects to be considered
The search for the perfect espresso is a long road, and there are several tools that can help achieve the perfect...Read more
Bottomless portafilter? Here are the aspects to be considered
The search for the perfect espresso is a long road, and there are several tools that can help achieve the perfect...Read more -
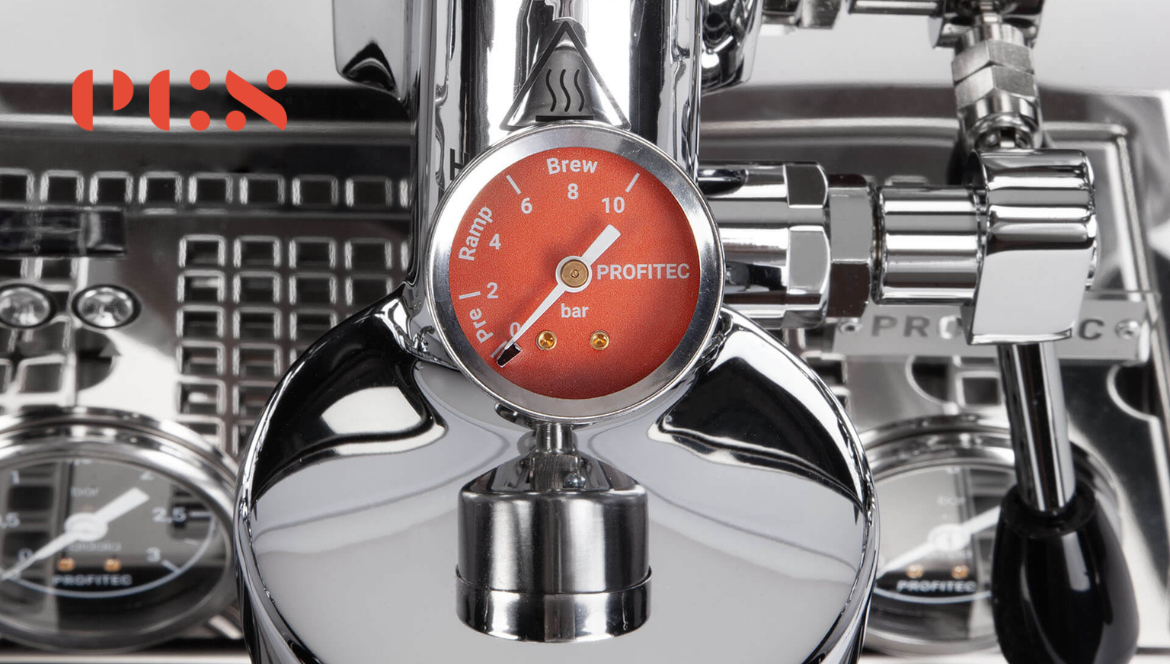 PROFITEC DRIVE: the home machine with professional performance
Drive is the most recent entry in the Profitec household and the evolution of the already highly appreciated Pro 700....Read more
PROFITEC DRIVE: the home machine with professional performance
Drive is the most recent entry in the Profitec household and the evolution of the already highly appreciated Pro 700....Read more -
 All about a good tamping
To make good coffee, it is important to have the right equipment, quality coffee and not only. It is also necessary...Read more
All about a good tamping
To make good coffee, it is important to have the right equipment, quality coffee and not only. It is also necessary...Read more
Leave a comment